Transforming a garage into liveable space always comes with a surprise or two—but that’s half the fun, right? This attached garage, measuring 7.5 metres long by 2.7 metres wide, started out like many others: full of potential, but with a few quirks hidden under the surface.
It All Started With a Meter…
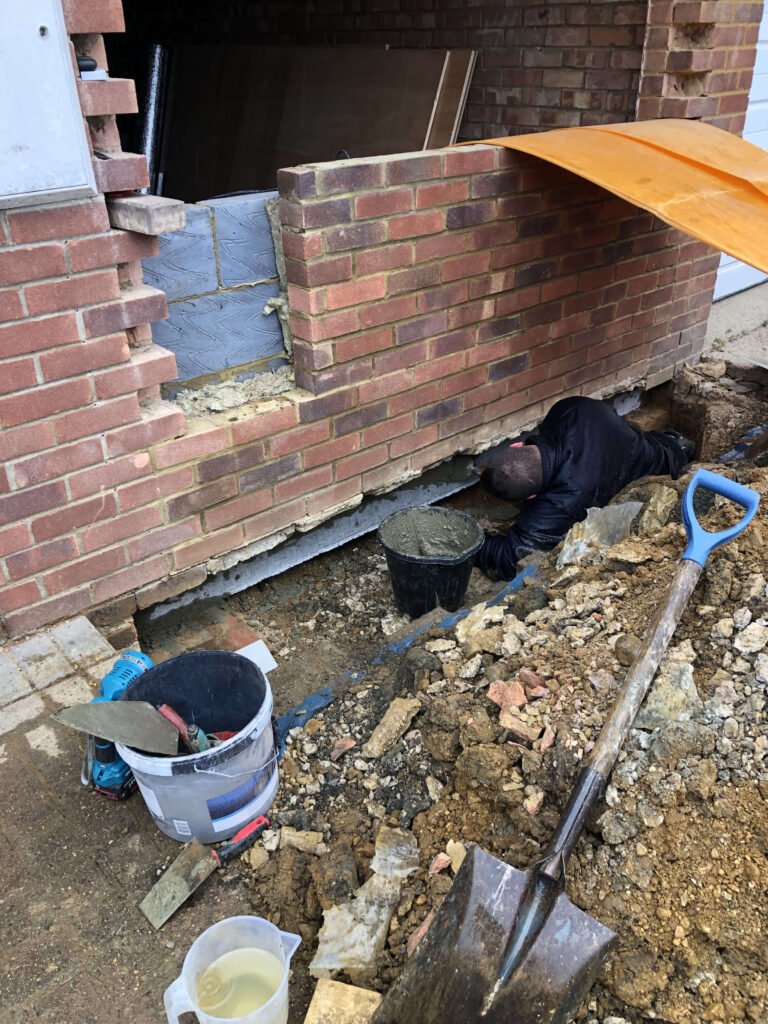
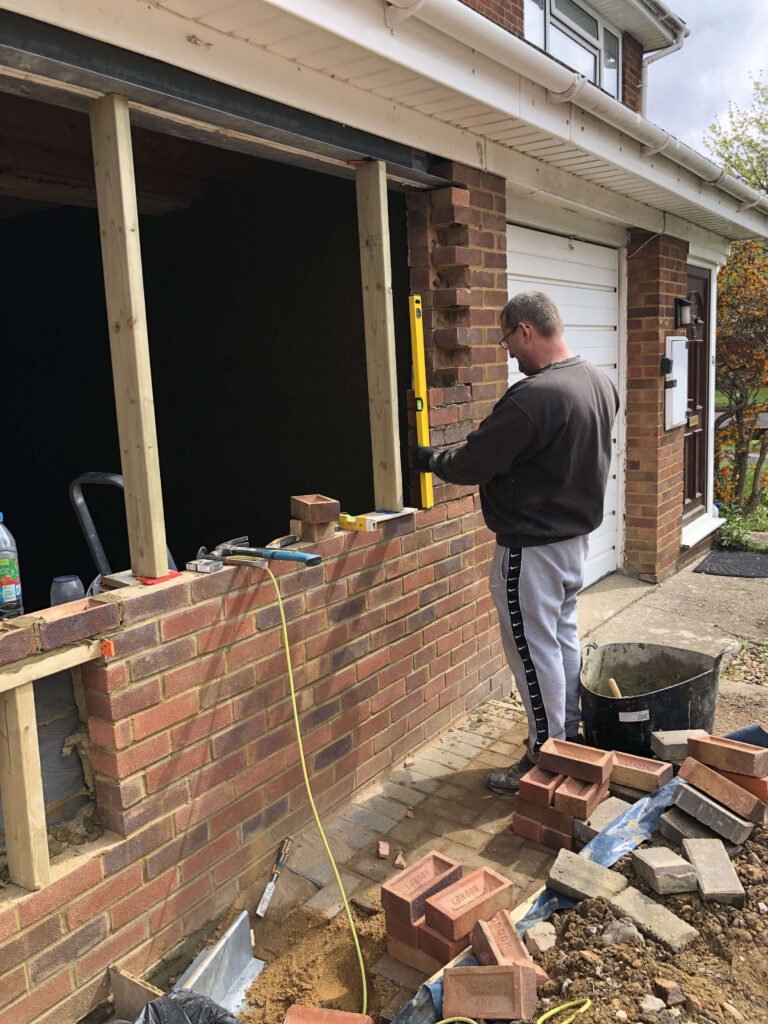
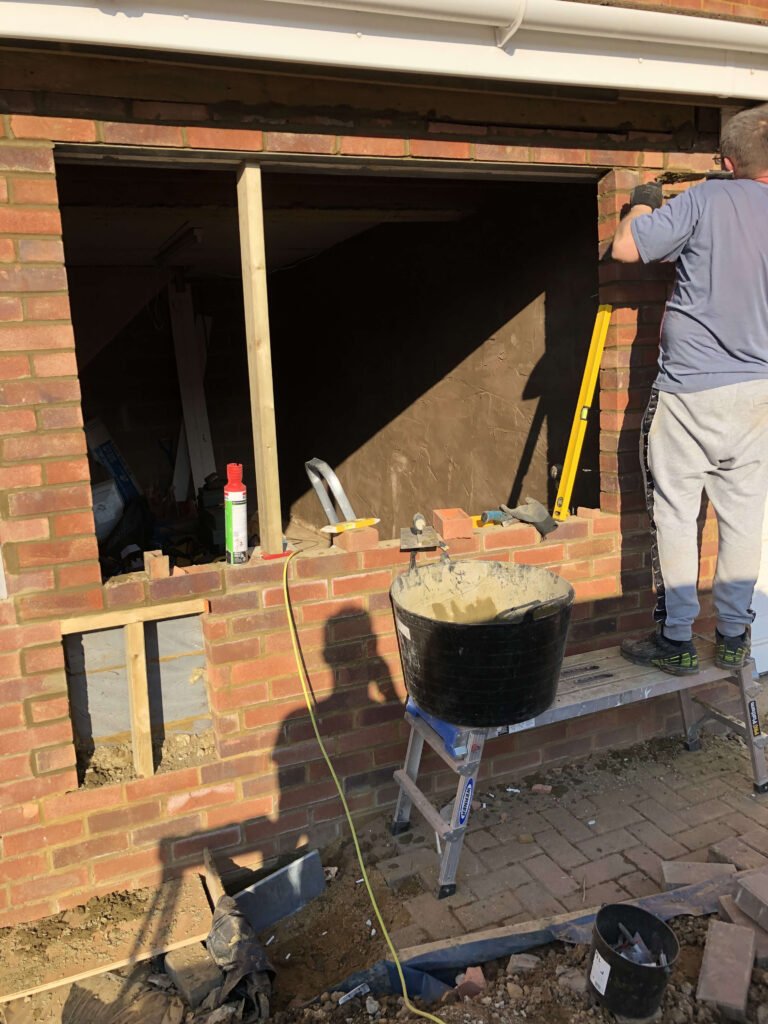
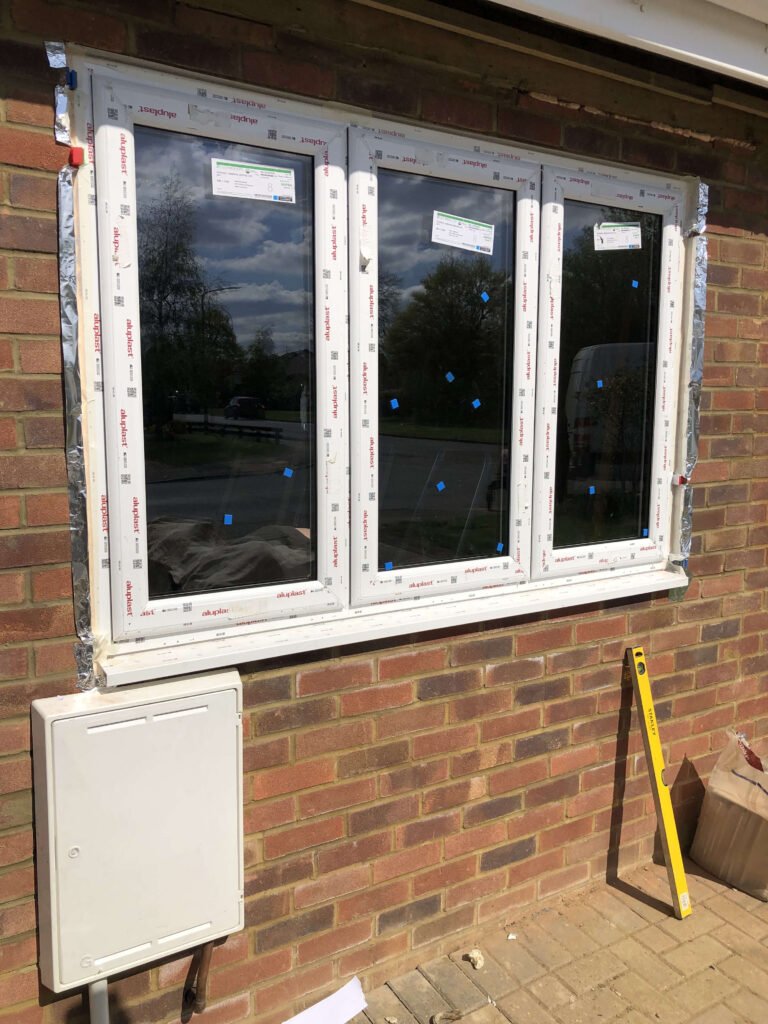
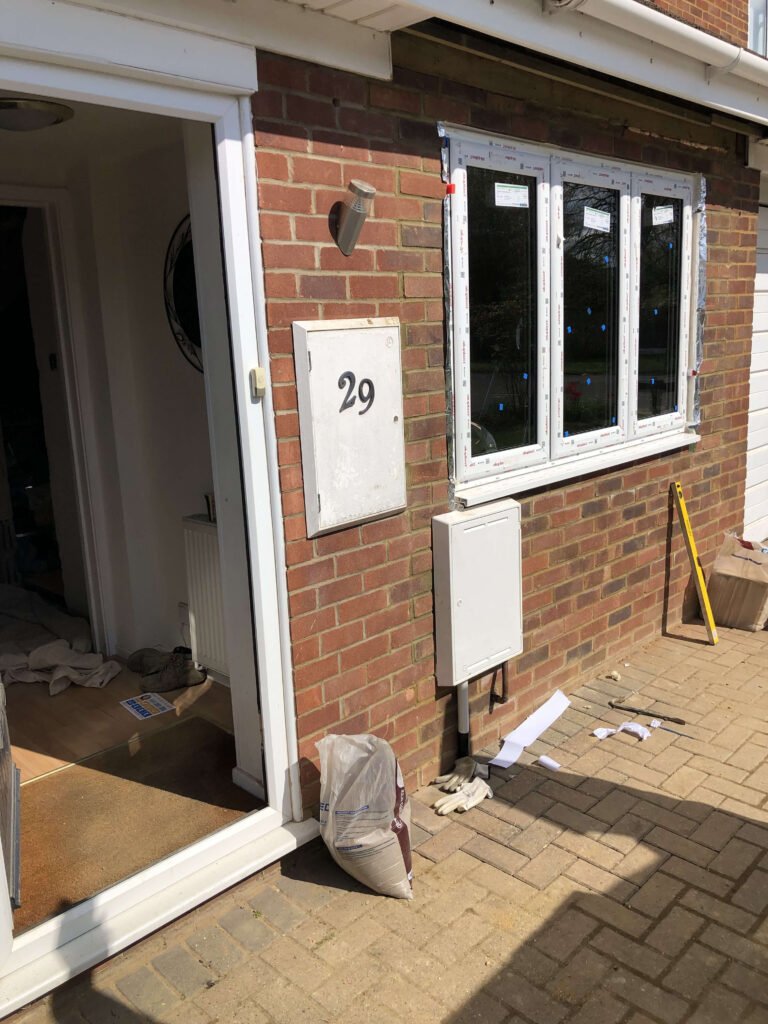
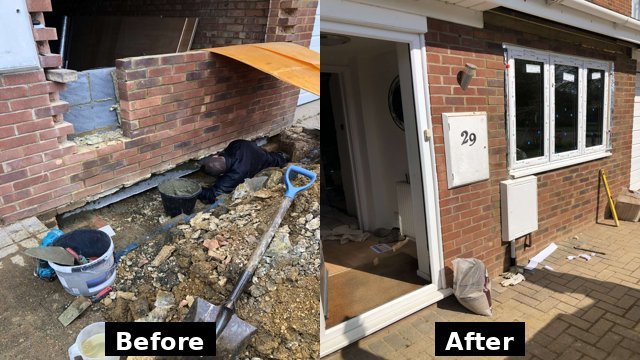
Right in the middle of the garage wall, at head height, sat a gas meter. Now, you might think: no big deal. But this one delayed the entire house access—because British Gas took two weeks to turn up. That meant for the first half of the job, our only way in and out was through what would eventually become the front window. The old garage door had already been bricked up, so we were literally crawling through future glazing.
Getting Inspector-Approved
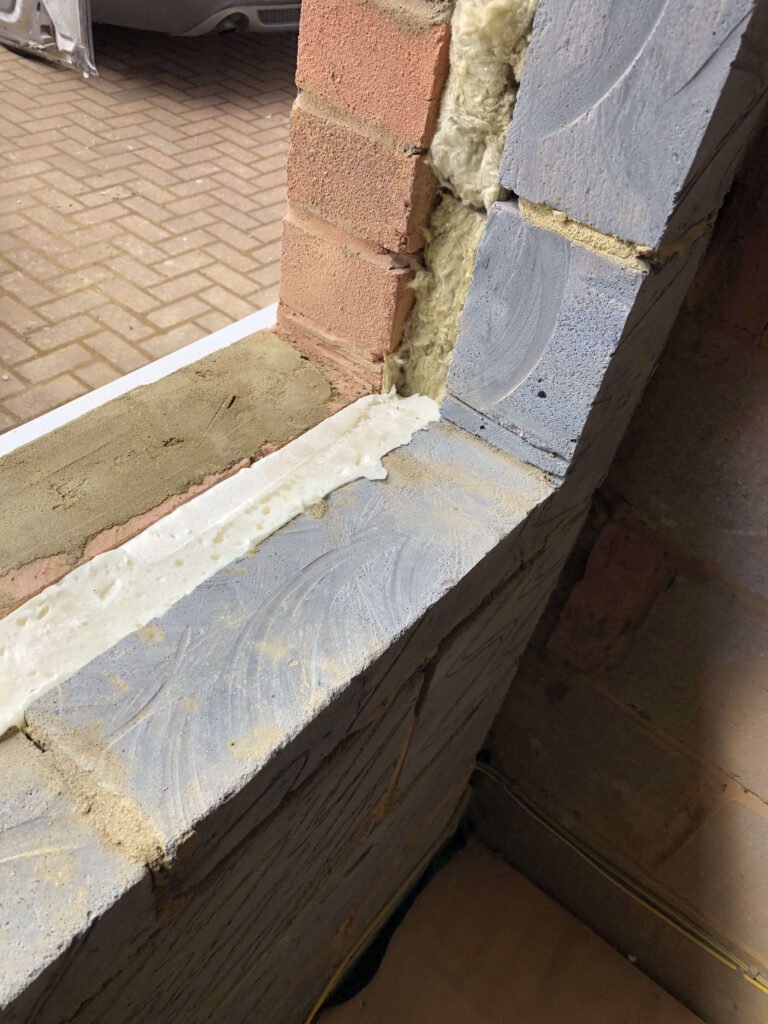
Another hiccup came from the side wall. Factory-built with a 5 cm gap between this garage and the neighbour’s, it didn’t pass building regs as-is. The inspector called it: we needed an extra 2 cm of rendering to make up the spec. A small detail, but a crucial one to keep the project signed off.
Laying the Foundations—Literally
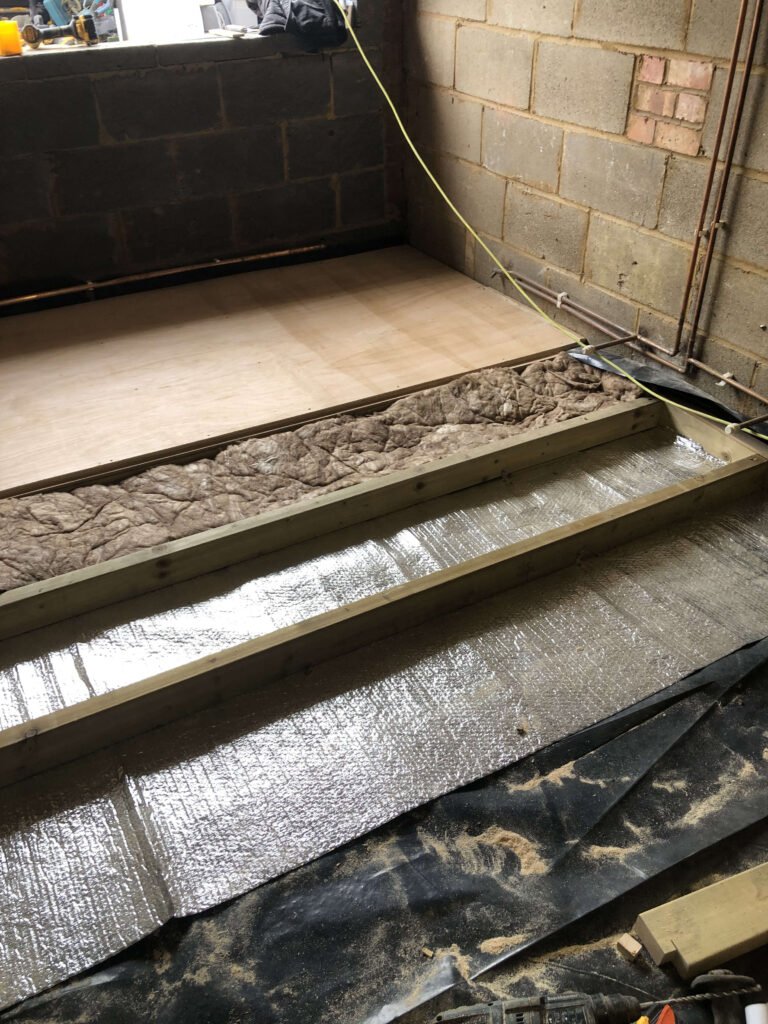
We started from the ground up. Aluminium membrane to keep out the damp, then we stood 4×2 timbers on edge to create a solid floor frame. In between went 100mm mineral wool insulation. We topped it off with 18mm plywood—a strong, stable base ready for anything from carpet to engineered wood flooring.
Insulation, Insulation, Insulation
Because there was already roof insulation above the garage, we didn’t need to go overboard. We slotted 50mm Celotex boards between 3×2 timbers for the ceiling, which were also stood on edge. The walls followed the same logic: timber frame with 50mm Celotex insulation tucked neatly in between.
Now, this garage only had one real external wall (the front), so most of the internal walls didn’t need cavity builds. That front wall, however, was rebuilt properly to meet cavity wall standards—no shortcuts here.
Board It, Tape It, Paint It
Once insulation was in, we moved on to plasterboarding. Everywhere got 12.5mm tapered edge boards—standard stuff. Then came the taping, jointing, filling, sanding, and final paint job. You know the drill. What started to take shape was no longer a garage—it was a room with real promise.
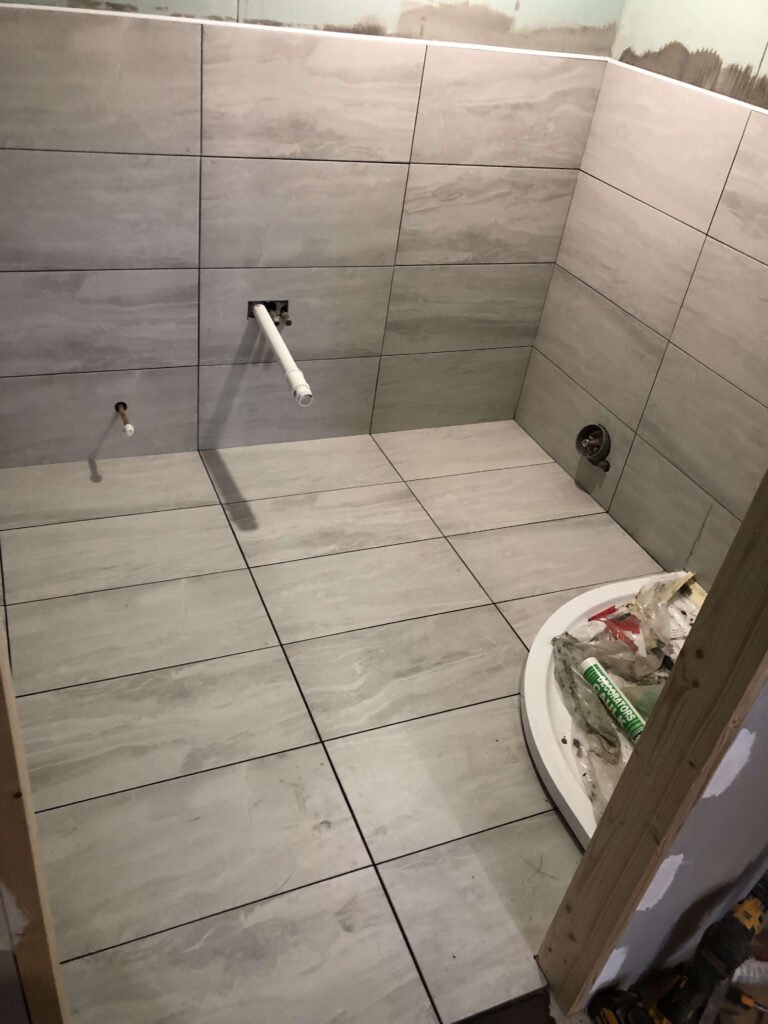
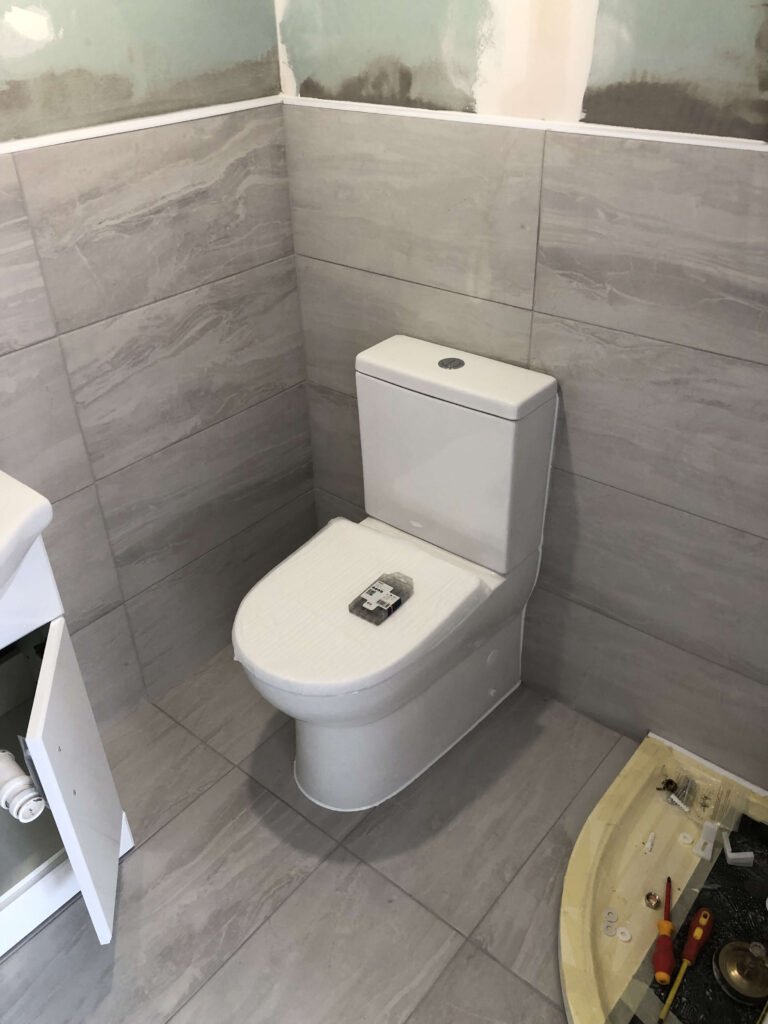
Bonus Room: The Bathroom
At the far end of the conversion, we managed to fit a compact yet fully functional bathroom. Shower, WC, and a hand basin—all neatly fitted in. It’s a clever use of space that transforms this garage conversion into a space suitable for guests, lodgers, or even a home office with ensuite.
A Few Things We Learned
- Always check the positioning of utility meters before you block off main access.
- Don’t assume factory builds meet current regs—the inspector might surprise you.
- Adding 2 cm of rendering sounds small, but can make a huge difference on paper.
- Aluminium membrane and mineral wool make a rock-solid base floor—highly recommended for thermal and acoustic benefits.
This garage conversion might have had its delays and demands, but the end result is a cosy, insulated, multi-purpose space that adds real value to the home. Whether it’s a guest room, studio, or rental unit, this project proves what can be achieved even in narrow, tricky garages.